
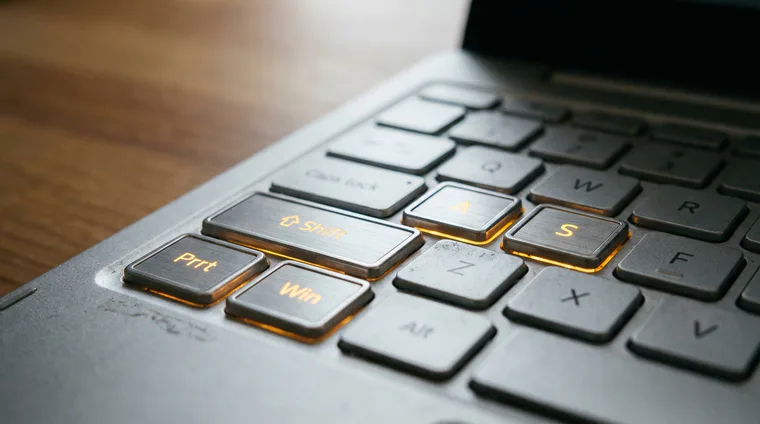
A screenshot can be saved as a file or copied to the clipboard for use in a chat, email, or document. The right shortcut depends on your operating system and whether you need the entire screen, a selected area, or one window.
| System | Full screen | Selected area | Active window |
|---|---|---|---|
| Windows 10/11 | Print Screen or Windows + Print Screen | Windows + Shift + S | Alt + Print Screen |
| macOS | Command + Shift + 3 | Command + Shift + 4 | Command + Shift + 4, then Space |
| Linux | Print Screen | Shift + Print Screen | Alt + Print Screen |
Contents:
How to take a screenshot in Windows
Windows can copy a screenshot to the clipboard or save it directly as a file. Clipboard capture is convenient for messages and email, while saved files are easier to organize in reports and project folders.
- Print Screen captures the full screen. Depending on your Windows settings, it copies the image to the clipboard or opens Snipping Tool.
- Alt + Print Screen copies the active window to the clipboard.
- Windows + Shift + S opens Snipping Tool so you can capture a rectangle, a free-form area, one window, or the full screen.
- Windows + Print Screen saves the full screen in the Screenshots subfolder inside Pictures.
To show one detail, press Windows + Shift + S, select the area, and paste it with Ctrl + V. To collect screenshots as files, Windows + Print Screen avoids the extra paste step.
The official Microsoft Snipping Tool guide explains capture modes, annotations, and saving.
How to take a screenshot in macOS
On a Mac, screenshots are saved as files on the desktop by default. You can also copy them to the clipboard and paste them directly into a conversation.
- Command + Shift + 3 captures the entire screen.
- Command + Shift + 4 lets you select an area.
- Command + Shift + 4, followed by Space, captures a selected window.
- Command + Shift + 5 opens the Screenshot panel, where you can choose a capture type, record the screen, use a timer, and change the save location.
To copy the result to the clipboard, add Control to the shortcut. For example, Control + Command + Shift + 4 copies a selected area, which you can then paste with Command + V.
If you take many screenshots, open Command + Shift + 5 and set a destination folder once. The official Apple screenshot guide describes the capture tools and options.
How to take a screenshot in Linux
Linux shortcuts depend on the desktop environment and its settings. Common combinations are Print Screen for the full screen, Alt + Print Screen for the active window, and Shift + Print Screen for a selected area.
- Print Screen captures the entire screen.
- Alt + Print Screen captures the active window.
- Shift + Print Screen lets you select an area.
If a shortcut does not work, open the keyboard settings and review the shortcuts section. You can check the assigned action or create your own combination there.
How to crop, annotate, and share a screenshot
Before sharing a screenshot, remove menus, tabs, notifications, and personal data that do not provide useful context. An arrow or a short note is usually enough to point out an error or action.
- Capture only the area you need.
- Crop unnecessary elements and any sensitive data.
- Add an arrow, circle, or short note.
- Save as PNG when small text and sharp edges matter; use JPG when a smaller file is more important.
- Send the image in the relevant chat, email, task, or document.
A screenshot works best when it explains one idea. If you need to show several steps, keep them in order and add a short label to each image.
When to install a screenshot tool
Built-in tools cover most everyday tasks. Another program becomes useful when you need scrolling capture, history, numbering, templates, automatic uploads, or repeatable action chains.
- ShareX combines region and window capture with automatic saving, shortcuts, and configurable workflows.
- Greenshot provides quick annotation and export tools.
- Lightshot offers simple area capture and basic markup.
Start with the tool built into your operating system. Install another application when a specific need repeats and the native shortcut no longer saves enough time.