

Contents:
What is a project life cycle?
A project life cycle is a clear path from an idea to closure: the stages a project passes through, the decisions made at each stage, and the results that mark its completion.
The life cycle is different from the work schedule. The schedule answers “when do we do it?”; the life cycle answers “how do we manage it?” In construction, a team can complete half the scheduled work yet still lose control of profit, documents, or the client's expectations.
Money also follows its own operating cycle, from purchases and advances to acceptance and signed completion documents. Managing work without connecting it to stages and closeout records creates risk.
What does the project life cycle include?
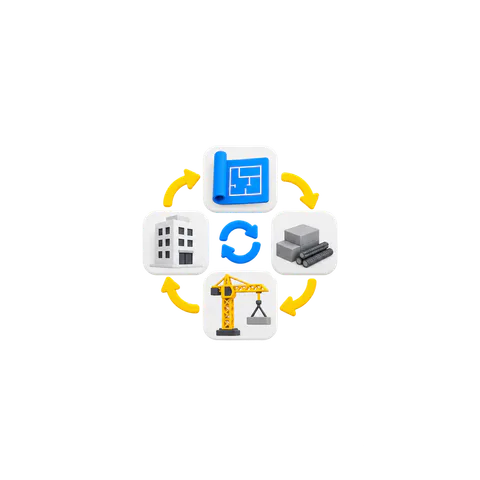
For practical management of a construction project, four stages are useful: initiation, planning, execution, and closing. Monitoring and control run through every stage, not just after execution. These management stages overlap with technical activities such as design, purchasing, site work, and handover.
Technical activities show what is being built. Management stages show when to agree goals, prepare the plan, do the work, and close the project. Control helps keep time, money, and agreements in view at every stage.
| Stage or ongoing activity | What it means in practice | Evidence of progress |
|---|---|---|
| Initiation | Agree what will be done, its boundaries, and responsibilities | Goals, scope, roles, and main constraints are recorded |
| Planning | Build the baseline plan for stages, dates, budget, purchasing, and communication | Approved schedule and budget baselines, with a change procedure |
| Execution | The team performs work, buys materials, and manages subcontractors | Planned work is complete and readiness is confirmed |
| Monitoring and control throughout | Compare actual time, cost, and quality with the plan; record changes | Regular reports and decisions on deviations throughout the project |
| Closing | Acceptance, completion records, final payments, archives, and lessons | The project is closed in both records and finances |
1. Initiation
Initiation gives the project its most valuable resource: clarity. If scope and change rules are unclear at the start, later arguments turn on whether a task was included or was extra work.
In construction and renovation, initiation often means “we agreed in messages.” Messages help, but the work becomes manageable when the key agreements are collected so everyone can repeat them without interpretation.
Record these points at initiation:
- the goal and completion criteria: what counts as a finished result
- scope boundaries: what is included, excluded, and at risk
- roles and responsibilities: who approves decisions, accepts work, and signs documents
- the change procedure: how extras are priced, dates changed, and approvals given
- milestones at which the client accepts results
2. Planning
Planning turns a project into a system: a schedule, budget, purchasing plan, communication rules, and change control. A plan helps you answer, halfway through, whether the team is still following the baseline or already working to a new reality.
101 has more on project management basics (in Russian) and tools that connect dates, communication, documents, and finances (in Russian).
A practical planning sequence:
- Break the project into stages with clear outputs, such as rough work, engineering systems, finishes, and handover. Give each stage a readiness criterion.
- Build a calendar schedule with dependencies, critical dates, and delivery buffers. See the construction schedule guide (in Russian).
- Prepare a baseline estimate and budget: expected costs by item and stage, advances, and a risk reserve.
- Plan purchases: what to buy early, what to buy when needed, and where lead times can cause delays.
- Set communication rules: where decisions are recorded, response times, and who approves changes. See project communication management (in Russian).
- Define quality checks: stage acceptance checklists, photo reports, and checks of work that will later be hidden.
- Set a change procedure: estimate the cost and schedule effect of extra work before approval and recording.
3. Execution
Execution on a site means workers, materials, equipment, and subcontractors. The owner's problem is often visibility: work continues and money is spent, but there is little clear evidence behind many decisions.
Control continues in a regular rhythm during execution. It relies on three things: planned versus actual dates, planned versus actual costs, and a change log. Without them, the project loses its memory and becomes hard to manage.
Tracking finances by stage and subcontractor shows what has been paid and spent, where reports are missing, and where a cost item has exceeded its budget. In 101, this layer covers project finances and reporting.
If you want to see this in practice, join a free demonstration. We can map your roles and show where work, money, and documents stop lining up.
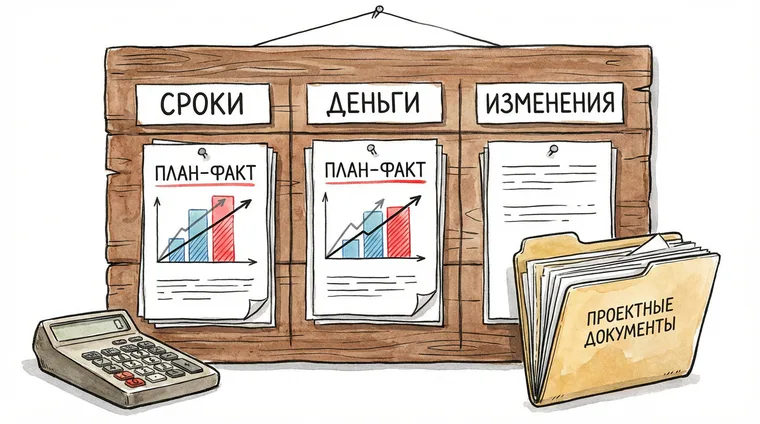
Changes need their own control. Clients switch materials, hidden defects appear, and deliveries slip. For each change, record its cost, its effect on dates, and the evidence behind it.
If you manage several sites and need closer control of metrics and deviations, see how PRO+ brings the numbers together without manually combining reports.
4. Closing
Teams often rush closure because they want to hand over the site and move on. Then unsigned records, unsettled payments, warranty duties, and unexplained differences between plan and actual results remain.
Closure has two layers. First, the client accepts the result and signs the records. Second, the company closes the project's finances and records lessons for its next site.
Acceptance records are a key document in construction. For details, see the 101 article on acceptance of completed work (in Russian).
After closing, briefly review what delayed the schedule, where the estimate was wrong, which client decisions changed, and when losses appeared. This helps improve planning on later projects.
Which parts need attention first?
If you cannot build every part of the life cycle in detail yet, start where expensive mistakes are most likely:
- Initiation. Record scope boundaries, roles, and change rules. This is where later extra work and disputes begin.
- Planning. Establish the baseline for stages, dates, and budget; without it, control becomes an argument.
- Monitoring and control. Track planned versus actual costs and dates, plus a record of changes. This protects project profit.
- Closing. Settle documents and payments, compare actual results with the plan, and record lessons. This determines what the company takes from the project.
How can a team put the life cycle into practice?
Start with shared definitions of “stage,” “done,” “change,” and “acceptance.” Then decide where documents and decisions live and where project money is tracked.
Add a simple management rhythm. For a small company, a weekly review of each site is often enough: dates (planned versus completed work), money (planned versus actual spending), and changes (what changed, who approved it, and how it was recalculated).
Build a set of tools for each role: a schedule, a place to record agreements, document management, and project accounting. See 101's guide to project management tools (in Russian).
For a broader view of roles and management structures, see project management structures (in Russian) and construction project management technologies (in Russian).