How to use your camera, microphone, and screen sharing
In a 101 meeting, you can turn on the camera and microphone separately and share content from your computer or your phone screen. The browser or operating system may ask for permission the first time.
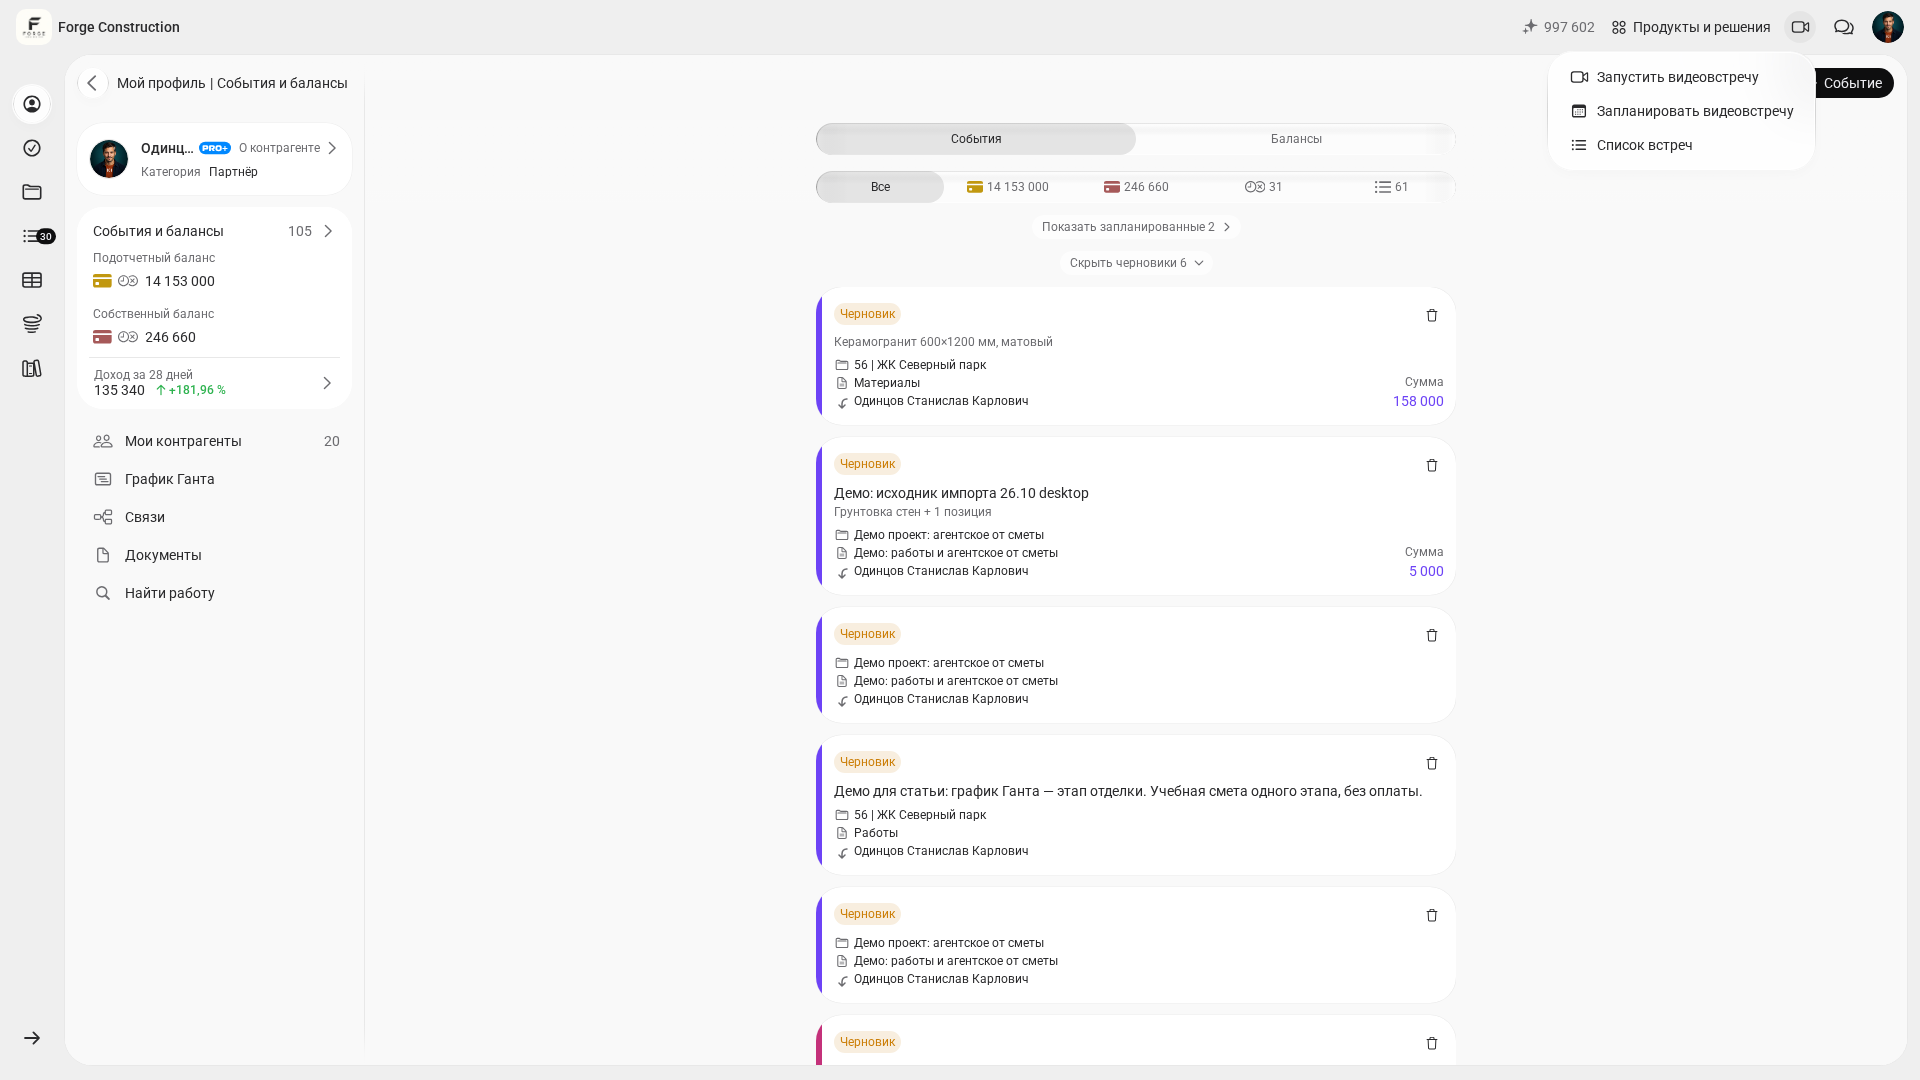
If you have not opened the call yet, find the meeting in the list. On a computer, open the video camera menu and select “Meeting list.” On a phone, open “More” and select the video meetings option. Open the task and select the option to join the call.
Camera and microphone permissions
- Turn on the camera or microphone using its button in the meeting. When your browser asks whether 101 can access the device, select “Allow.” Camera and microphone permissions are requested separately.
- If you previously denied access, open the site settings using the icon beside the address bar and allow access to the device you need. Turn it on again in the meeting. If the browser prompts you, reload the page and rejoin.
- If you still cannot use the device, check the settings on your computer or phone to make sure the browser can access the camera and microphone. If the control in the meeting is disabled, ask the organizer whether you can send audio or video.
Before sharing your screen
“View mode” is available to the company creator and partners. If you have access and are showing 101 data to a customer or contractor, open the user menu, select “View mode,” and choose “For customer” or “For contractor.” “For customer” hides costs, purchase prices, and internal margins. “For contractor” hides the price charged to the customer, markups, and project profit. Check which amounts are still visible before you start sharing. After the meeting, switch back to “Standard mode.” If the menu does not offer this setting, share only a window or tab without internal figures.
To show a single estimate, photo, or drawing, select a tab or window. If you share your entire screen, participants may see other windows and notifications.
Camera and microphone
- In the open meeting, select “Turn on microphone” or use the camera button to turn on your video.
- If your browser asks for permission, allow access to the device you need. Use the settings next to the button to choose a different microphone or camera.
- To turn off a device, select “Turn off microphone” or use the camera button to turn off your video.
For a clearer picture, open camera settings next to the camera button, find the quality setting, and choose “1440p” if available.
Share your computer screen
To show small text, a drawing, or a spreadsheet, open the screen sharing settings before starting and select “1440p” for sharing quality. This is the highest setting (2560 × 1440 pixels). Actual clarity depends on the source resolution and connection quality.
- In the full meeting window, select the control to start sharing your screen.
- In the browser dialog, choose an available tab, window, or your entire screen. Confirm and check that participants can see the content you want to share.
- When you are done, use the control to stop sharing your screen.
To share video with sound, open the screen sharing settings before you start and enable system audio if the option is available. Audio sharing depends on your browser, operating system, and selected source.
Share your iPhone screen using a QR code
Select the control to start sharing a phone screen and scan the QR code with your iPhone camera. The iPhone must have the 101 app installed. See the instructions below.
Camera and microphone
- In the open meeting, select “Turn on microphone” on the toolbar or use the camera button to turn on your video.
- If your browser asks for permission, allow access to the device you need. To choose a different device, open the more actions menu and find the microphone or camera settings.
- To turn off a device, tap its button on the toolbar again.
To choose camera quality, open the more actions menu, then the camera and quality settings. If your camera supports 1440p, that option will be available.
To share your iPhone screen, open the QR code in the meeting window on another device. In a narrow window, the control is in the more actions menu. How to share your iPhone screen using a QR code.
On a computer
Camera and microphone
- In the open meeting, select “Turn on microphone” or use the camera button to turn on your video.
- If your browser asks for permission, allow access to the device you need. Use the settings next to the button to choose a different microphone or camera.
- To turn off a device, select “Turn off microphone” or use the camera button to turn off your video.
For a clearer picture, open camera settings next to the camera button, find the quality setting, and choose “1440p” if available.
Share your computer screen
To show small text, a drawing, or a spreadsheet, open the screen sharing settings before starting and select “1440p” for sharing quality. This is the highest setting (2560 × 1440 pixels). Actual clarity depends on the source resolution and connection quality.
- In the full meeting window, select the control to start sharing your screen.
- In the browser dialog, choose an available tab, window, or your entire screen. Confirm and check that participants can see the content you want to share.
- When you are done, use the control to stop sharing your screen.
To share video with sound, open the screen sharing settings before you start and enable system audio if the option is available. Audio sharing depends on your browser, operating system, and selected source.
Share your iPhone screen using a QR code
Select the control to start sharing a phone screen and scan the QR code with your iPhone camera. The iPhone must have the 101 app installed. See the instructions below.
On a phone
Camera and microphone
- In the open meeting, select “Turn on microphone” on the toolbar or use the camera button to turn on your video.
- If your browser asks for permission, allow access to the device you need. To choose a different device, open the more actions menu and find the microphone or camera settings.
- To turn off a device, tap its button on the toolbar again.
To choose camera quality, open the more actions menu, then the camera and quality settings. If your camera supports 1440p, that option will be available.
To share your iPhone screen, open the QR code in the meeting window on another device. In a narrow window, the control is in the more actions menu. How to share your iPhone screen using a QR code.
Maximum camera quality: 1440p
You can select 1440p (2560 × 1440 pixels) after turning on the camera if the browser confirms support for this resolution. Blurring or replacing the background limits video to 720p. To use 1440p, open the background settings and turn off the effect.
How to share your iPhone screen using a QR code
- In the meeting window on another device, select the control to start sharing a phone screen.
- Point your iPhone camera at the QR code and open the link in the 101 app. If the app is not installed, install it before connecting.
- Start the broadcast and confirm the system prompt. The phone screen then appears in the meeting for participants to see.
- Stop the broadcast on your iPhone or use the control to stop sharing the phone screen in the meeting window.
The code can be used once and is valid for five minutes. If it expires, use the refreshed code in the meeting window. Close personal apps and hide notifications before sharing.
If the camera, audio, or screen sharing does not work
- Check that your browser has given the site access to the camera and microphone. If your operating system is blocking access, allow the browser to use the device in system settings.
- Open the settings for the relevant device in the meeting and check that the correct camera and microphone are selected.
- If the screen selection dialog closed before you confirmed, start sharing again and select a source. On macOS, check that your browser has permission to record the screen in system settings.
See also how to join a video meeting using a link.