Choose estimating software based on what it needs to connect: quantities, rates, estimates by stage, and customer approval. Test it on a real job to see whether it calculates line items using your rules and whether you can check the total and share it with the customer.
- What the software calculates
- When it makes sense to move on from Excel
- Which features to check
- How to estimate work costs in 101
- How to set up a price list and markup
- How to divide the work within your team
- How to get started
- Further reading
What the software calculates
The estimator enters the scope of work, units of measure, quantities, and rates. The software multiplies each quantity by its rate and adds the line totals. The customer sees the proposed price in the estimate. Verify actual costs and profit separately using records of completed work and purchases. Record payments separately.
Some estimating systems are designed to calculate costs using standard cost databases. Tools that let you use your own price lists are practical for commercial estimates. If you also need to report on work, materials, and finances, check what the software offers for management accounting.
When it makes sense to move on from Excel
A spreadsheet works for a small estimate if the team checks the formulas and works from a single version. If files, rates, or quantities start to differ across several projects, link estimates to projects and stages in one system. The person responsible can then open the right estimate and check its status before sending it.
Which features to check
- Price list and units. Add a few common tasks and check that the quantities and rates use the same units of measure.
- Cost and customer price. Check how you enter the cost and the price for the customer, who can see them, and how the total is calculated.
- Reusing line items and managing access. Check whether you can reuse existing line items and give staff access to just the estimates they need.
- Export. Export a test file in PDF or Excel, depending on the formats available. Check the items and amounts before sending the document for approval.
How to estimate work costs in 101
An estimate event in 101 records the planned line items for a stage. The estimate itself does not change the project balance. In the web version, open the estimate form and select the project and the appropriate expense category. For example, use the category for work if your project has one.
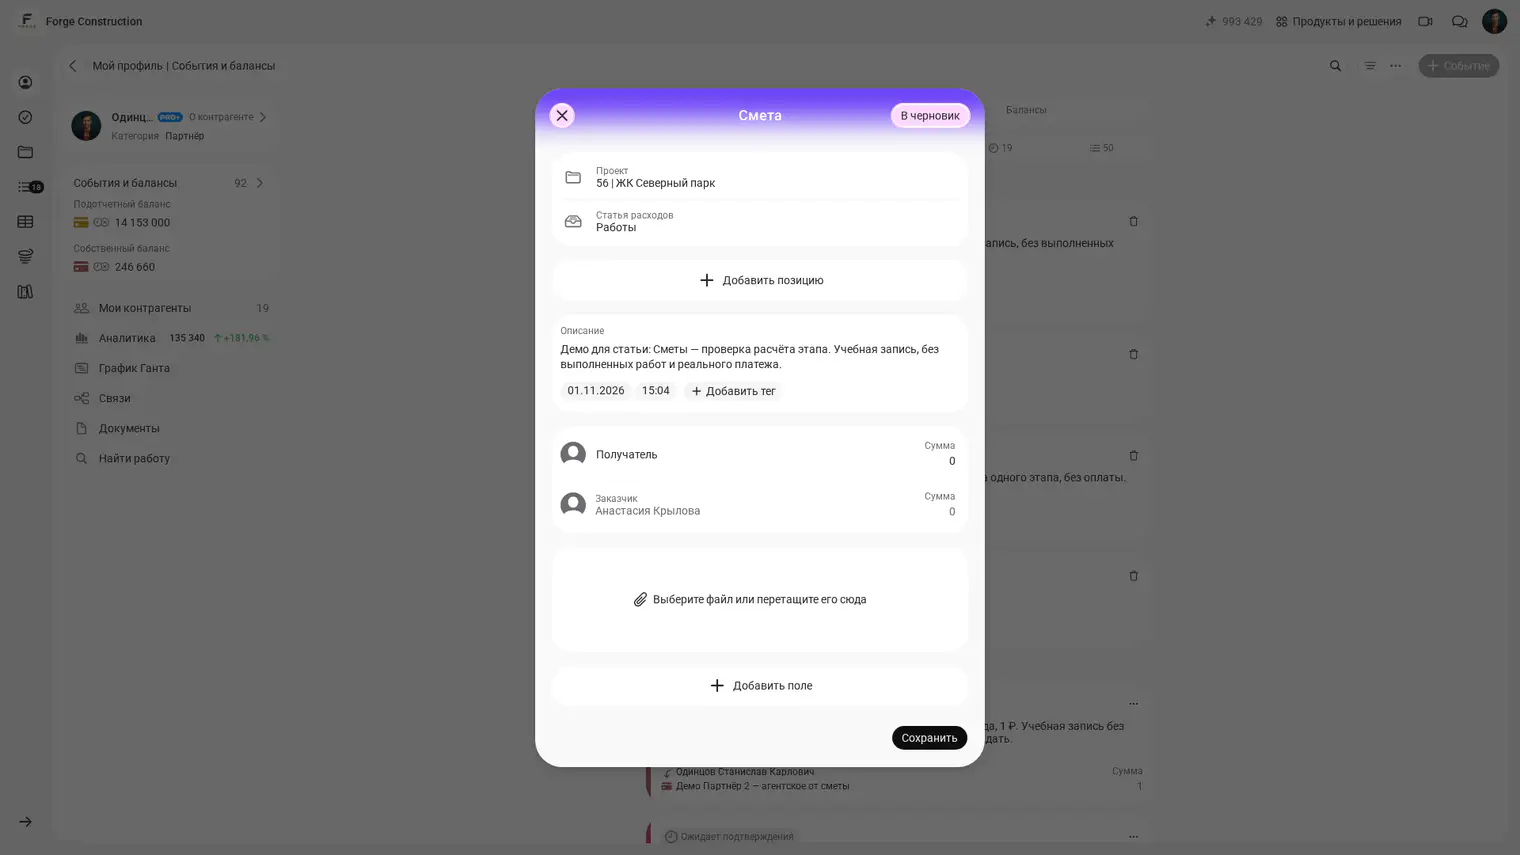
- Add line items from a price list you’re allowed to use or from another available source. Enter quantities based on your measurements and check the units of measure.
- Check the prices, costs, and line item amounts you can access. If any data is hidden, ask a team member with the required permissions to check it. Save the line items, check the amounts you can access in the estimate form, and save the estimate. Then open the saved record and check the available amounts and its status.
- If confirmation is required, someone with the required permissions confirms the estimate in a separate action. If you need an overall estimate, wait until the relevant stage estimates are confirmed, then combine them into a single document (in Russian) and check the total before sending it.
On a phone, you can send the PDF using the share menu. In the web version, generate the document, download it in the format you need, and send the file to the customer separately. If the parties need to sign the document, agree on how to sign it. How to create an estimate in 101 (in Russian).
How to set up a price list and markup
Start with your own price list or use the ready-made 101 GROUP list. Before preparing an estimate, check the scope of work and update the rates for your region, the date of the estimate, and the job conditions. Use the ready-made list as a starting set of line items and verify the current rates for your project separately.
The customer price and cost can already differ in the price list. In 101, you set a separate markup by expense category (in Russian). Check the settings and the amounts you can access in a test estimate to see how markup affects the calculation. The planned difference between price and cost is a separate figure from actual profit.
If you need the same rates across multiple projects, upload a price list using the XLSX template (in Russian) and check the line items. To bring rows into a single estimate or report, use AI to add line items (in Russian) if the category allows custom line items, and check the result.
How to divide the work within your team
Assign someone to each stage and give them the permissions they need. For example, the person responsible for demolition prepares one estimate and the person responsible for finishing prepares another. The manager checks the line items and amounts and combines the confirmed stage estimates into a document for the customer.
When the work is complete, the person responsible can bring the relevant estimate line items into a report (in Russian), enter the actual quantities, and check the total. Record purchases and payments separately. Use the relevant documents based on actual records to agree on completed work and reconcile project finances.
How to get started
- Choose a typical project and split the calculation into separate estimates for each stage. Set up expense categories by type of cost so the required line items are available in each estimate.
- Check the price list. Remove duplicate items, clarify the units of measure, and update the rates.
- Use a test project to go from an estimate to a report. Check the estimate total and verify what actions and prices are available to each role.
- Agree on who prepares and confirms estimates and who updates rates. This helps the team work from current estimates.